Barcode Gallery
Here are some examples of the good, the bad and the ugly of the barcode world.
The Good:
The Bad and the Ugly:
- Example 1 – Too many asterisk characters.
- Example 2 – Extra character returned by toolkit
- Example 3 – A box around the barcode
- Example 4 – First bar of the barcode is too wide
- Example 5 – Barcode image is not clear enough
- Example 6 – Resolution of the image is too low
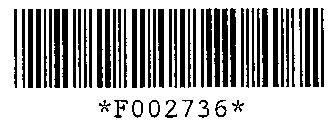
Code 39 barcodes encode alpha-numeric characters and have only 2 widths of bar. This type of barcode is ideal for use in scanning applications. A Code 39 barcode should start and end with the asterisk character (which should not be used in any other position). Each character consists of 5 black bars and 4 white spaces – 3 of which must be wide. The first 5 black bars and 4 spaces, which represent the asterisk character, should always be the same as in the above picture. This also applies to the last 5 bars and 4 spaces. Sometimes a Code 39 barcode also includes a checksum character, which will always be output by the toolkit. This can be confusing if you didn’t know the checksum character was there, but the toolkit has no way of telling whether the last character in the barcode string is a checksum or not.

Code 25 barcode encode numeric characters and only have 2 widths of bar. This type of barcode is ideal for use in scanning applications where only numeric data needs to be encoded. The barcode is “interlaced” because the first digit is represented only by black bars and then the next digit is represented only by spaces and so on. 2 of the 5 bars or spaces must be wide. The first 2 bars and 2 spaces make up the start pattern and the last 2 bars and 1 space make up the stop pattern. As with Code 39, the check digit is optional.

Code 128 encodes the full ASCII 128 character set and uses 4 different bar and space widths. For this reason it is not ideal for use with scanning applications although in practise it is widely used. In the above example some of the black bars have almost joined together, which makes recognition of the barcode quite difficult. Ideally this barcode should have been scanned at a higher resolution. To read this example you will need to set the LineJump property to 1 (“Check every scan line” in the demo application). This type of barcode uses a built in check digit.
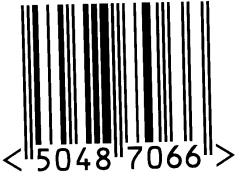
EAN-8 (European Article Numbering) barcodes encode 7 digits plus 1 check digit. It is primarily used on packaging for small items and is seldom used in scanning applications.
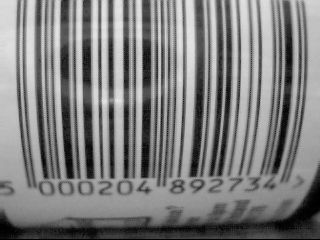
EAN-13 (European Article Numbering) barcodes encode 12 digits plus 1 check digit. It is primarily used on packaging and is seldom used in scanning applications.
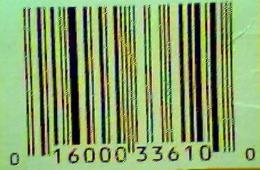
UPC-A barcodes are the best known barcode type in the USA and encode 11 digits plus one check digit. It is primarily used on packaging and is seldom used in scanning applications.
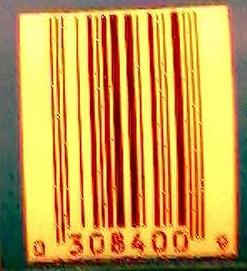
UPC-E is a short form representation of UPC-A and reduces the length from 12 digits to 6 using zero suppression. When the toolkit reads this type of barcode it can either return 12 digits or 8 digits depending on the value of the property ConvertUPCEToEAN13. This example is tricky to read and requires the following settings to work:
LineJump = 1
ColorThreshold = 180
QuiteZoneSize = 1
Example 1 – Too many asterisk characters.

This Code 39 barcode contains too many asterisk characters. The barcode actually contains the string “**406965*U*”. The user entered “*406965*”, but the application that generated the barcode automatically added on a checksum and extra start and stop asterisk characters. Because there are 2 asterisk characters at the start of the barcode the toolkit does not recognise it as a valid barcode.
Count the black bars in a Code 39 barcode and divide by 5 to get the number of characters encoded. This one has 55 black bars = 11 characters.
Example 2 – Extra character returned by toolkit
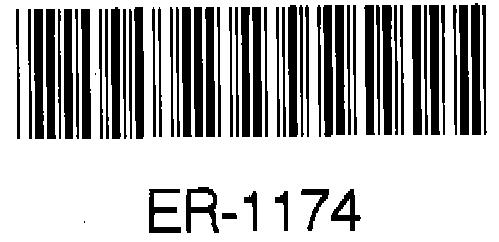
This Code 39 barcode is returned as “ER-11744” by the toolkit because the barcode includes a checksum character that has not been printed.
Example 3 – A box around the barcode

This Code 128 barcode doesn’t read because there is a box surrounding the barcode. Some web sites that create barcode images also put boxes around the barcode. The toolkit will read the barcode if you set the QuietZone property to a value of 1, but this is not a recommended setting because it increases the time it takes to scan an image.
Example 4 – First bar of the barcode is too wide

The first (and last) character of a Code 39 barcode should have the pattern N W N N W N W N N (N = Narrow bar, W = Wide bar) but this barcode starts off with a wide black bar. Apart from that the barcode is fine, but it won’t decode as it stands.
Example 5 – Barcode image is not clear enough

This barcode cannot be decoded because there are too many white pixels where the black bars should be. Care should be taken when scanning documents to make sure that the bars of a barcode are well defined.
Example 6 – Resolution of the image is too low

This barcode has been scanned at a resolution that is too low to retain enough information to read it. Some of the narrow black bars have disappeared completely, leaving large white spaces in the barcode. Other black bars are incomplete. It’s possible to read some images similar to this by setting LineJump = 1 or UseOverSampling = True, but the success rate will never be very high. The solution is to scan at a higher resolution.